Come on now! Don't be thinking dirty! Did you really think the girls of Sandpaper would put up a post about something naughty? OK--naughty, no. Dirty--maybe. BUT, not in the sense you think. Dirty as in dirt, mud, messy, unclean...you get the picture. Alright, maybe you don't get the picture. So here is one for ya:

Once we got her home in ole' Bessie, our old white trusty van, on a crummy- wet- dreary- June day, the ideas started to spew. We really didn't have a particular design or color in mind. So, we started a deconstruction project because we wanted it to be open shelving. Could we buy a cabinet that actually was open shelving? Absolutely! Would it be as much fun transforming it into what exactly we want? Heck no! So we got to work.
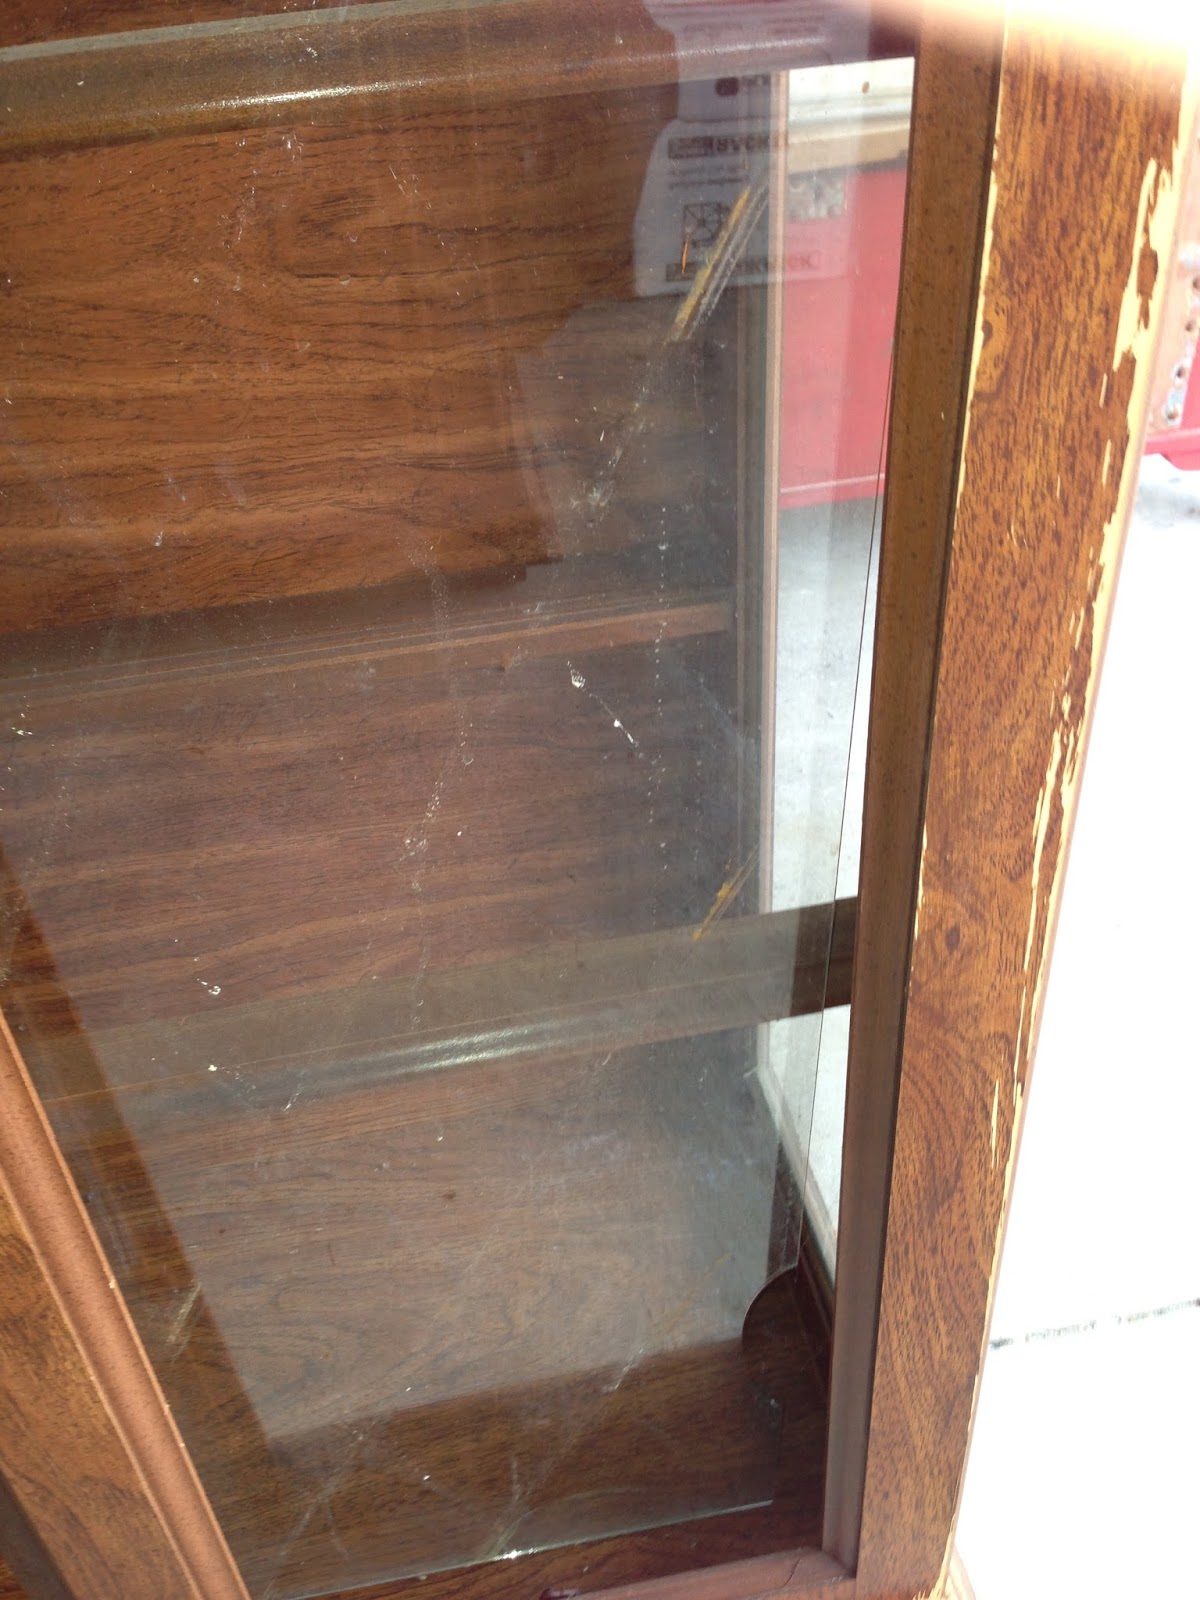
Since she came in two pieces, we took her apart. Once we did, we noticed there was a little water damage to one side.


Even after sanding the top, it just wasn't looking or turning out how we wanted so we decided to buy a new top and put it on.
We then pulled all the doors off and glass on the sides to create the open shelving look.


As you can see in the second picture, the bottom shelf was damaged so we put new wood down. We also had to reinforce the shelves with metal brackets.
Once we finished prepping it, we decided to paint the inside shelving with Graphite. The outside received Old White. Here she is with one coat of each.

At this point, we left her to sit because we devoted our attention to the Amber Gold Salon project seen in our previous post. When we finished her project, Amber expressed the need for a display cabinet. We immediately thought! HUTCH! She needs it! So...we went and spent the next week paying a lot of attention to tailoring it to match Amber's decor.
We took the gold metal door designs and re-purposed them on the side panels. We used a staple gun to secure them. LOVE air compressor tools:)


We lined the bottom shelf with some really pretty paper that matched perfectly. (This is a pic prior to us laying it down permanently.)

We sanded and antiqued the Old White and then waxed it with clear wax and detailed parts with dark wax.


We special ordered glass for the shelving, since it didn't come with it, and put the original hardware back on.


We delivered the hutch to Amber's this past week and just love how it looks with her product line. It also complements the mirrors at each station.

(Products couldn't be put on the top two shelves because there was a delay with the special order glass.)


We are thrilled with how it turned out! We also love the fact that the hutch found a place to go, instead of sitting in our workshop with no intended purpose.
Looks gorgeous!!
ReplyDelete